1What you get
Installed capabilities
- Starts sessions with context, not guesses
- Makes a save point before risky work
- Fences off the files that must not break
- Walks a broken project back to working
- Turns every incident into a new fence
- Installs with the CLAUDE.md Architect in one step
2Getting started
How to start it once installed
3Install it
Add it to Claude Code
- 1
Download and unzip
Click Download above, then double-click the file you get.
- 2
Paste one message to Claude
The walkthrough below has the exact wording. Claude installs the kit for you.
- 3
Say yes when it asks
Claude asks before running anything on your computer. Approve it and the install is done.
- 4
Type / to check
The kit's commands appear in the list. Plain English works too.
Never installed a skill before? Follow the walkthrough below — the same steps, one click at a time, with pictures.
4Install walkthrough
Step by step, with pictures
First time installing a skill? You paste one message into Claude Code and it installs itself. No terminal, no folders to make, about a minute.
- 1
Download the file
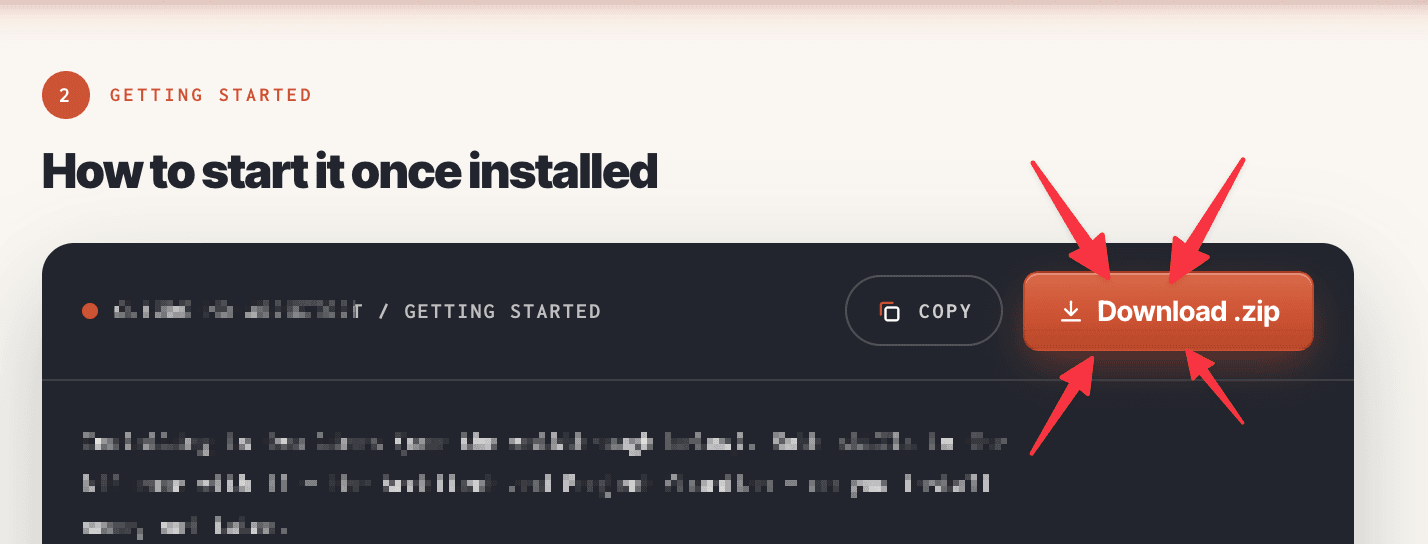
Scroll up and click the rust Download .zip button. It saves to your Downloads folder.
- 2
Unzip it
Double-click the file you just downloaded. It turns into a folder called
claude-code-setup-kit. Leave it in Downloads. - 3
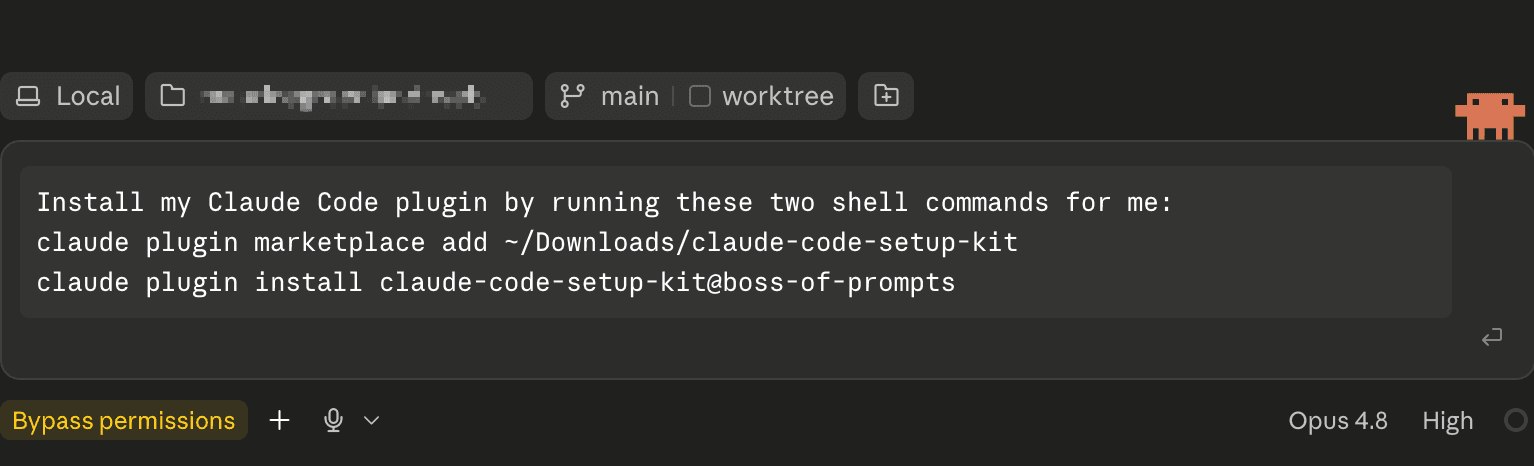
Paste this into Claude Code
Open Claude Code and paste this in, exactly as it is, then press enter:
Install my Claude Code plugin by running these two shell commands for me:
claude plugin marketplace add ~/Downloads/claude-code-setup-kit
claude plugin install claude-code-setup-kit@boss-of-prompts
If you unzipped somewhere other than Downloads, change that path to match. This works anywhere you use Claude Code — the terminal, the desktop app or your editor.
- 4
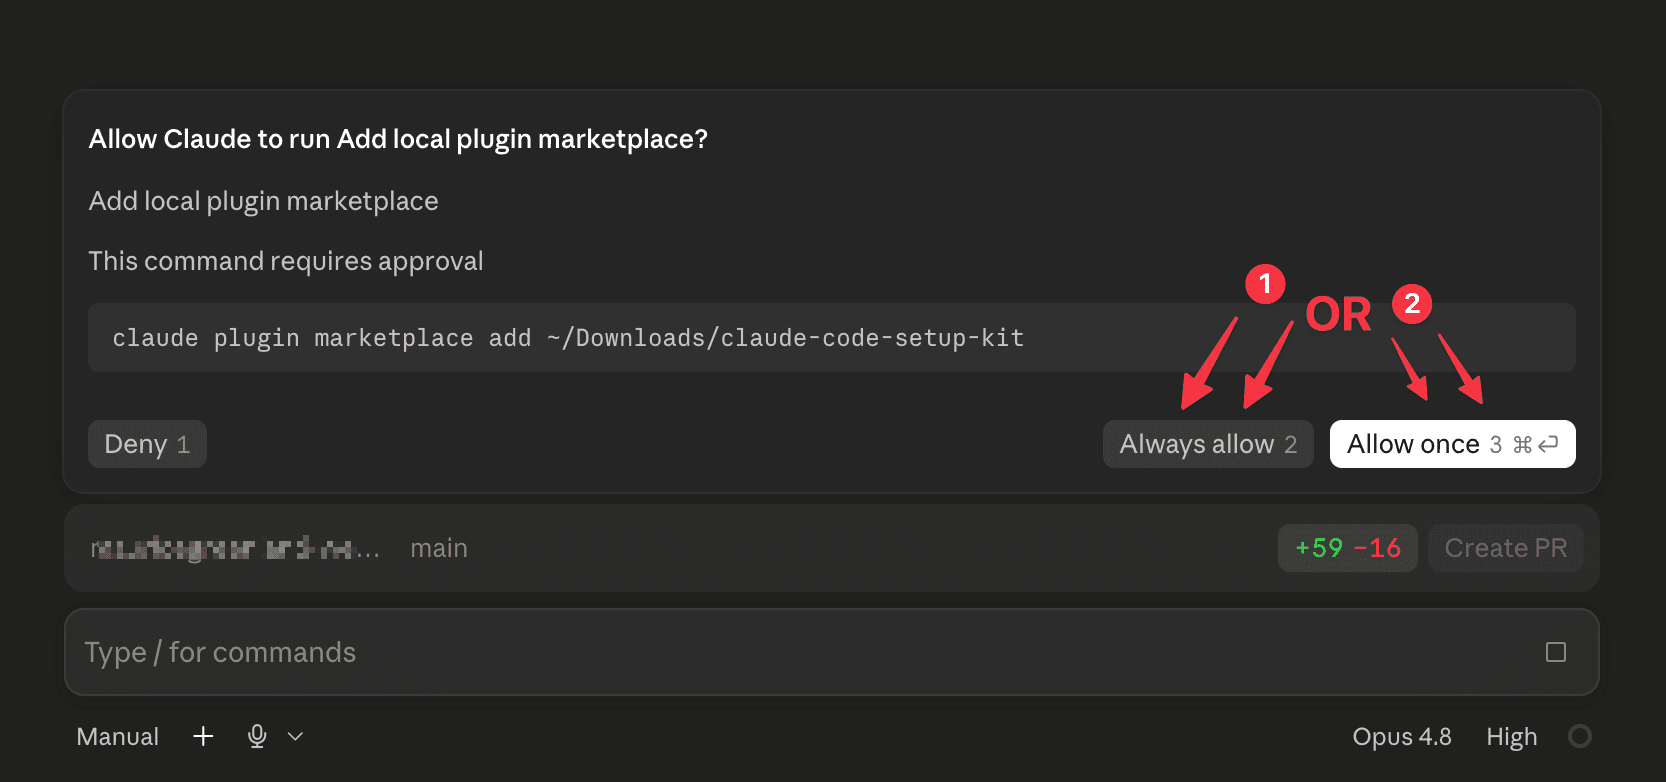
Say yes when it asks
Claude asks permission before running anything on your computer. That's the safety net working — approve it, and it does the install for you. You'll get a line back confirming the kit is installed.
One thing to note: the plugin's skills and commands typically become active after Claude Code reloads its configuration. If you don't see the new commands or skills right away, restart Claude Code (quit and reopen) and they'll be picked up.
- 5
Check it worked
Type
/and you'll see the kit's commands in the list, each starting withclaude-code-setup-kit:. Better still, just say what you want — "set up a CLAUDE.md for my project" — and it starts itself.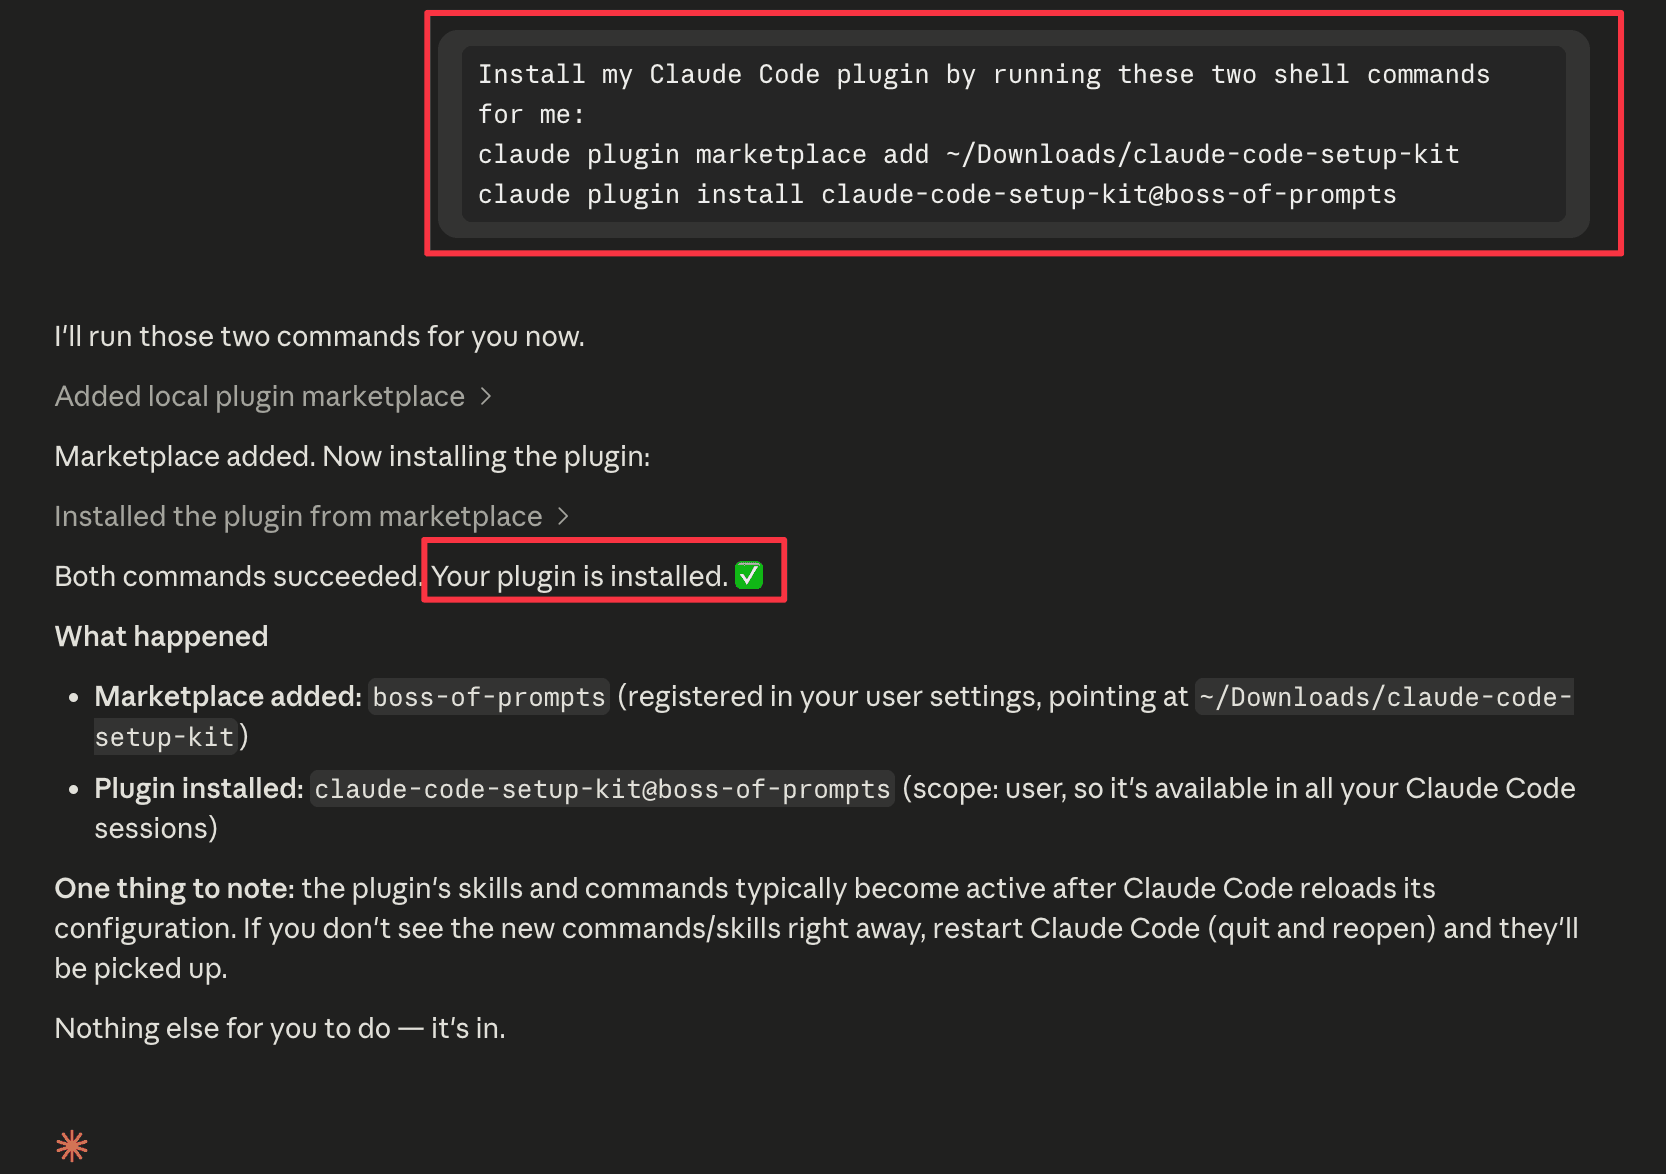
Same install, run yourself from a terminal instead of asking Claude.
claude plugin marketplace add ~/Downloads/claude-code-setup-kit
claude plugin install claude-code-setup-kit@boss-of-prompts
Not sure what a terminal is? Ignore this box completely — the steps above do exactly the same job.
You never have to type a command. "Set up a CLAUDE.md for my project", "start my session" and "it broke, undo this" all work — the right skill recognizes the job and starts itself. The commands are just the fast path.
5Run it
Once installed, just type
Set up my guardrailsStart my sessionIt broke — undo thisWhat just happened?Plain English is the way to drive it — Guardian recognizes the job and starts itself. Prefer commands? `/claude-code-setup-kit:guard`, `:kickoff` and `:recover` do the same jobs.
How to use it
- Unzip the download
- Paste the install message into Claude Code
- Say yes when Claude asks to run it
- Say "set up my guardrails" once, on day one
- Say "start my session" at the start of each session
- Say "it broke — undo this" when something breaks
Read This First.
Before you start, read this short guide first. It could save you a lot of time. The most common mistakes happen when people skip this step: Set up Claude Code the right way [Framework]